Hello all,
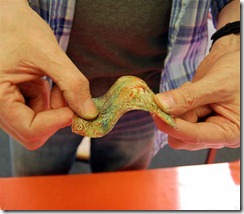
I was given a Diesel perfume box a few weeks back shaped like a book and decided I wanted to make an altered box with it, I was asked lots at Stitches about the stamped Gesso technique but rather than use gesso for this I have decided to use a product from Decoart called Modeling Paste because its flexible when dry and more like fabric and would be perfect for this box.as it is flexible at the hinge.
Below is a picture of it applied to cardstock and it bends without cracking!
This tutorial is part one of two, and the technique is exactly the same if you were to use Gesso. In part two I am going to transform it into a shadow box. Here is a picture at the end of stage one..
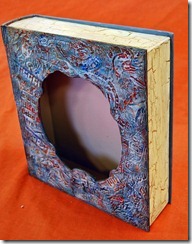
Ok I understand if you are going to try this method you will be using a different type of box, if its wooden I recommend that you prime it first.
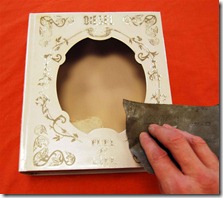
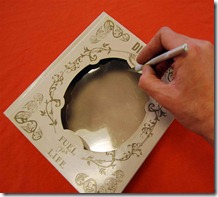
The box has a glossy paper finish so I first sanded it to give it some tooth for the modeling paste to adhere to and cut out the plastic window.
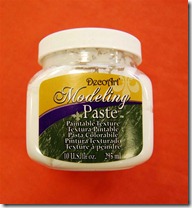
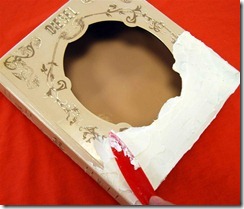
Apply the modeling paste approximately 2mm thick using a pallet knife, you don't have to worry about it being perfect as it is going to be stamped into.
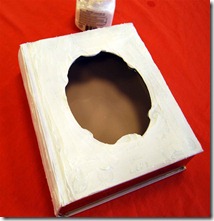
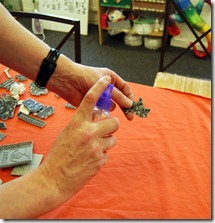
Once the box is covered start to dry with a heat tool, this will dry the surface of the modeling paste but you still want it to be spongy. I recommend trying this on a practice piece before attempting it as it takes a little practice. Once the paste is ready spritz your stamp with a little water to prevent it from sticking.
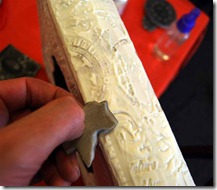
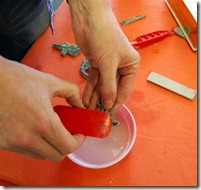
Start stamping into the modeling paste using a variety of stamps, make sure you have a bowl of water to hand as there will be the odd stamp that sticks and you can clean the stamp immediately.
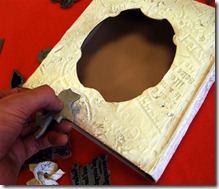
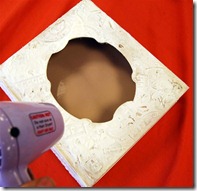
Continue to stamp into the modeling paste until completely covered. Allow to air dry or if impatient like me use a heat tool but be carful not to blister the paste.
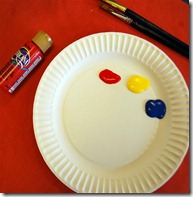
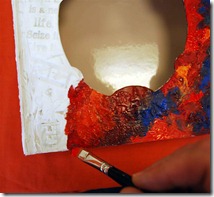
The colour options for the base coat are up to you, I have used Red, Yellow and Blue with a different brush for each colour, blend them slightly but avoid muddying them.
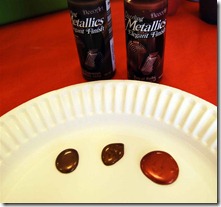
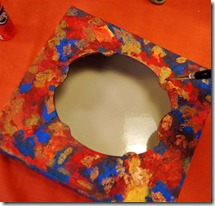
Once dry I like to add a few metallic colours randomly onto the basecoat.
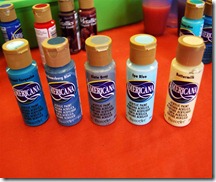
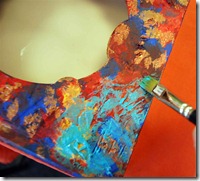
Next I have picked 4 shades of blue along with buttermilk, starting with your deepest shade load a flat brush but not to heavily and start brushing over the surface allowing some of the basecoat to show through. Allow to dry.
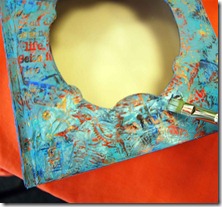
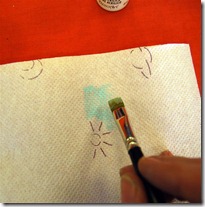
Repeat this process using less paint on the brush with each shade until you get to your lightest two colours. Now load the brush and wipe of onto a kitchen towel and dry brush the the stamped surface, finishing with your lightest colour.
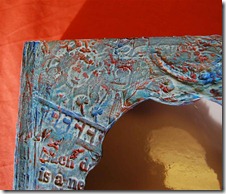
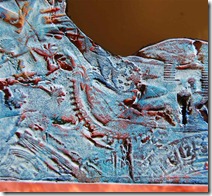
Here are some close-up's after the final dry brushing, you can click any of the pictures to enlarge.
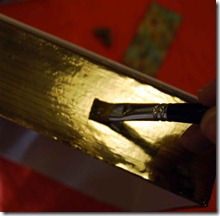
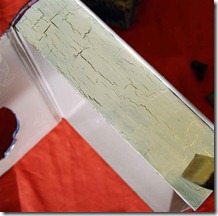
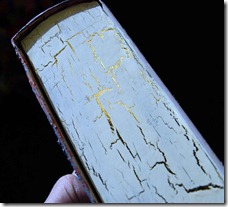
I then applied gold to the sides, once dry I applied one coat of Decoart Weathered wood and dried with a heat tool followed by a coat of buttermilk, almost immediately the cracks start to appear.
Finally I finish of with two coats of Americana Matte Sealer.
I was given a Diesel perfume box a few weeks back shaped like a book and decided I wanted to make an altered box with it, I was asked lots at Stitches about the stamped Gesso technique but rather than use gesso for this I have decided to use a product from Decoart called Modeling Paste because its flexible when dry and more like fabric and would be perfect for this box.as it is flexible at the hinge.
Below is a picture of it applied to cardstock and it bends without cracking!

This tutorial is part one of two, and the technique is exactly the same if you were to use Gesso. In part two I am going to transform it into a shadow box. Here is a picture at the end of stage one..

Ok I understand if you are going to try this method you will be using a different type of box, if its wooden I recommend that you prime it first.


The box has a glossy paper finish so I first sanded it to give it some tooth for the modeling paste to adhere to and cut out the plastic window.


Apply the modeling paste approximately 2mm thick using a pallet knife, you don't have to worry about it being perfect as it is going to be stamped into.


Once the box is covered start to dry with a heat tool, this will dry the surface of the modeling paste but you still want it to be spongy. I recommend trying this on a practice piece before attempting it as it takes a little practice. Once the paste is ready spritz your stamp with a little water to prevent it from sticking.


Start stamping into the modeling paste using a variety of stamps, make sure you have a bowl of water to hand as there will be the odd stamp that sticks and you can clean the stamp immediately.


Continue to stamp into the modeling paste until completely covered. Allow to air dry or if impatient like me use a heat tool but be carful not to blister the paste.


The colour options for the base coat are up to you, I have used Red, Yellow and Blue with a different brush for each colour, blend them slightly but avoid muddying them.


Once dry I like to add a few metallic colours randomly onto the basecoat.


Next I have picked 4 shades of blue along with buttermilk, starting with your deepest shade load a flat brush but not to heavily and start brushing over the surface allowing some of the basecoat to show through. Allow to dry.


Repeat this process using less paint on the brush with each shade until you get to your lightest two colours. Now load the brush and wipe of onto a kitchen towel and dry brush the the stamped surface, finishing with your lightest colour.


Here are some close-up's after the final dry brushing, you can click any of the pictures to enlarge.


I then applied gold to the sides, once dry I applied one coat of Decoart Weathered wood and dried with a heat tool followed by a coat of buttermilk, almost immediately the cracks start to appear.


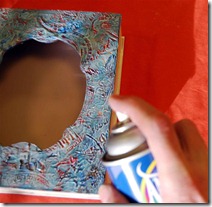
Finally I finish of with two coats of Americana Matte Sealer.

Love the look of this Andy, I am really keen to try the dimensional stamping now. Will be looking at part 2 with interest! Hope you are fully recovered from the show and it was great working with you. Lindsay x
ReplyDeleteJust stumpled upon your blog looking for modeling paste covered boxes :-) Wow, this is nice, and totally understandable. Thanks for all the close-ups.
ReplyDeleteThis looks great, what a cool technique! I have a box that would be perfect.....
ReplyDeleteone of my favourite techniques .. (no the painty bit as i have never tried it) but stamping in to texture... your paint effects look magnificent...
ReplyDeleteInteresting technique. Beautiful finish!
ReplyDeleteSuch amazing techniques, will share on Facebook page. Thank you so much for sharing your talents.
ReplyDeleteHow lovely, can't wait for the follow up!
ReplyDeleteI admire your work you are so brilliant
ReplyDelete